Using the tree view
Once an existing project has been opened using “File/Open Project…” or “File/Recent” or alternatively created from scratch using “File/New…”, a tree view is displayed on the left hand side of the screen. The tree view is where new data can be added, deleted, renamed etc.
To access individual functions, simply right click on any node in the tree view to access all functions applicable to that type of data. For instance, if you need to import or add a new model (mesh), right click on the node labelled “Meshes”. This will result in the following –
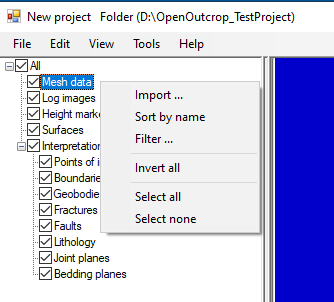
Simply select the appropriate function which in this case might be “Import …”.
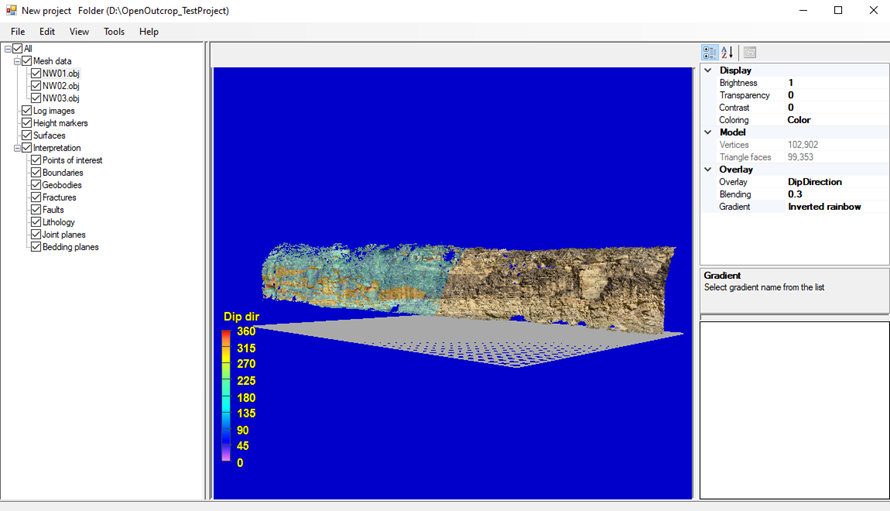
Subsequently, once the data has been added, you can left click on any new mesh and the properties for that mesh will be displayed on the RH side of the screen in the properties window. In the example below, three meshes have been loaded. Each of the properties for each mesh can be changed to display the mesh in a variety of different ways. In the following example we have changed the way the selected mesh is displayed by overlaying dip direction.
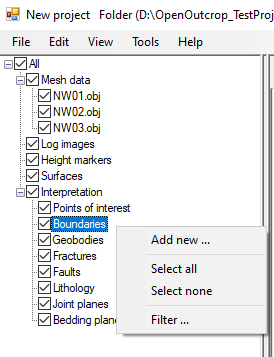
Each menu revealed by right clicking a node is context sensitive, and different options will be revealed depending on the type of node clicked. For example if we right click on the Boundaries node under Interpretation you will see the following –
Alternatively, if you right click on an existing boundary, you should see the following –
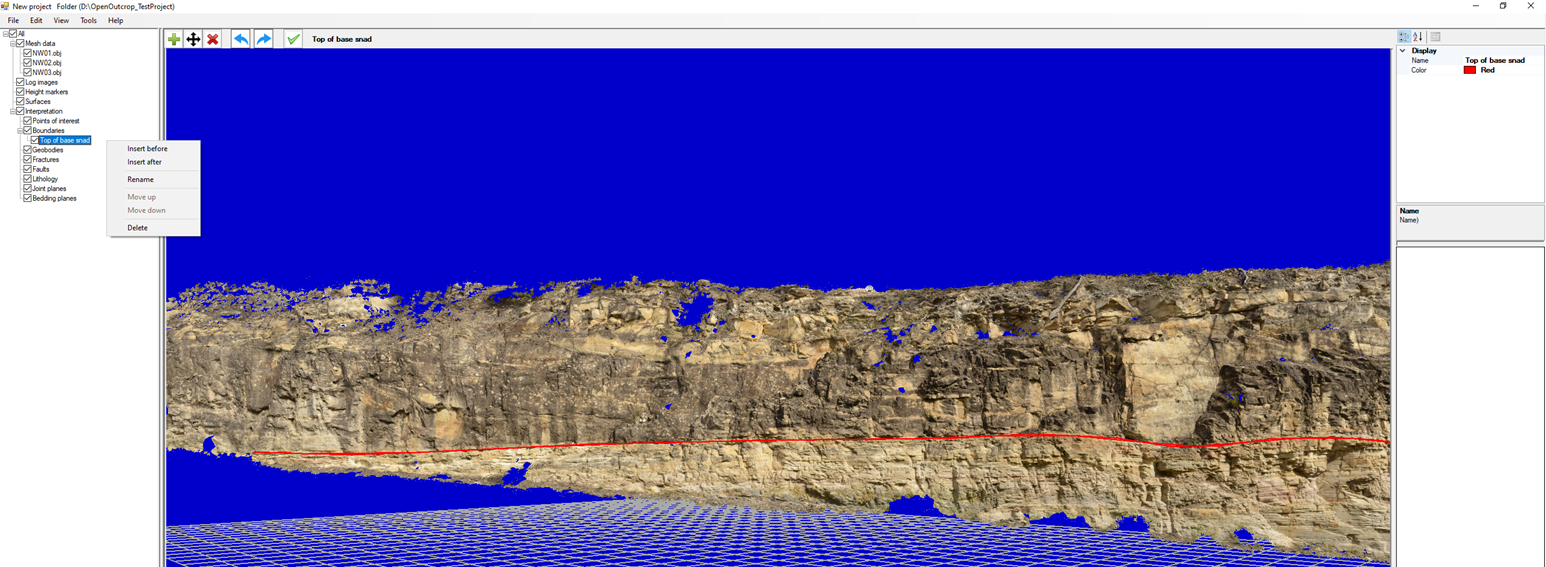
Since the menus are context sensitive, we note, in this case, that you can rename the selected boundary or delete it. If there were more than one boundary displayed, you could also move the selected boundary up or down in the list. Alternatively, you could insert a new boundary before or after the one currently selected.
The home page will direct you to the various data types that are supported in OpenOutcrop and you should seek more information there.